Sourdough's Slow Recovery

I've kept my sourdough starter in suspended animation for years, with periodic feedings. A couple attempts at using it for leavening largely failed, so it was relegated to the role of a flavor enhancer in my yeast-based breads. Given the surge in sourdough popularity associated with the COVID-19 pandemic, my interest was rekindled and I brought the starter back to life with a series of room temperature feedings. Through my web-based re-education, I realized that my usual approach of replacing half my starter with equal parts flour and water was amateurish and inadequate. Even after accelerating these feedings to twice a day, I learned that the starter would be unable to develop adequate strength unless I replaced a greater proportion of the starter at each feeding. The so-called 1:5:5 feedings (one part starter to 5 parts water and 5 parts flour) seem to be the gold standard for establishing a robust starter.
My starter was rising regularly on this regimen, so I decided to give it a try. I found some detailed instructions on YouTube from Full Proof Baking which seemed rather laborious, but the results looked impressive. I decided to give it a go. The next day, my first loaf didn’t look bad, though didn’t quite have the rise I expected. To be fair, I hadn’t gone through every last step of the various forms of folds, so perhaps some additional effort was warranted.
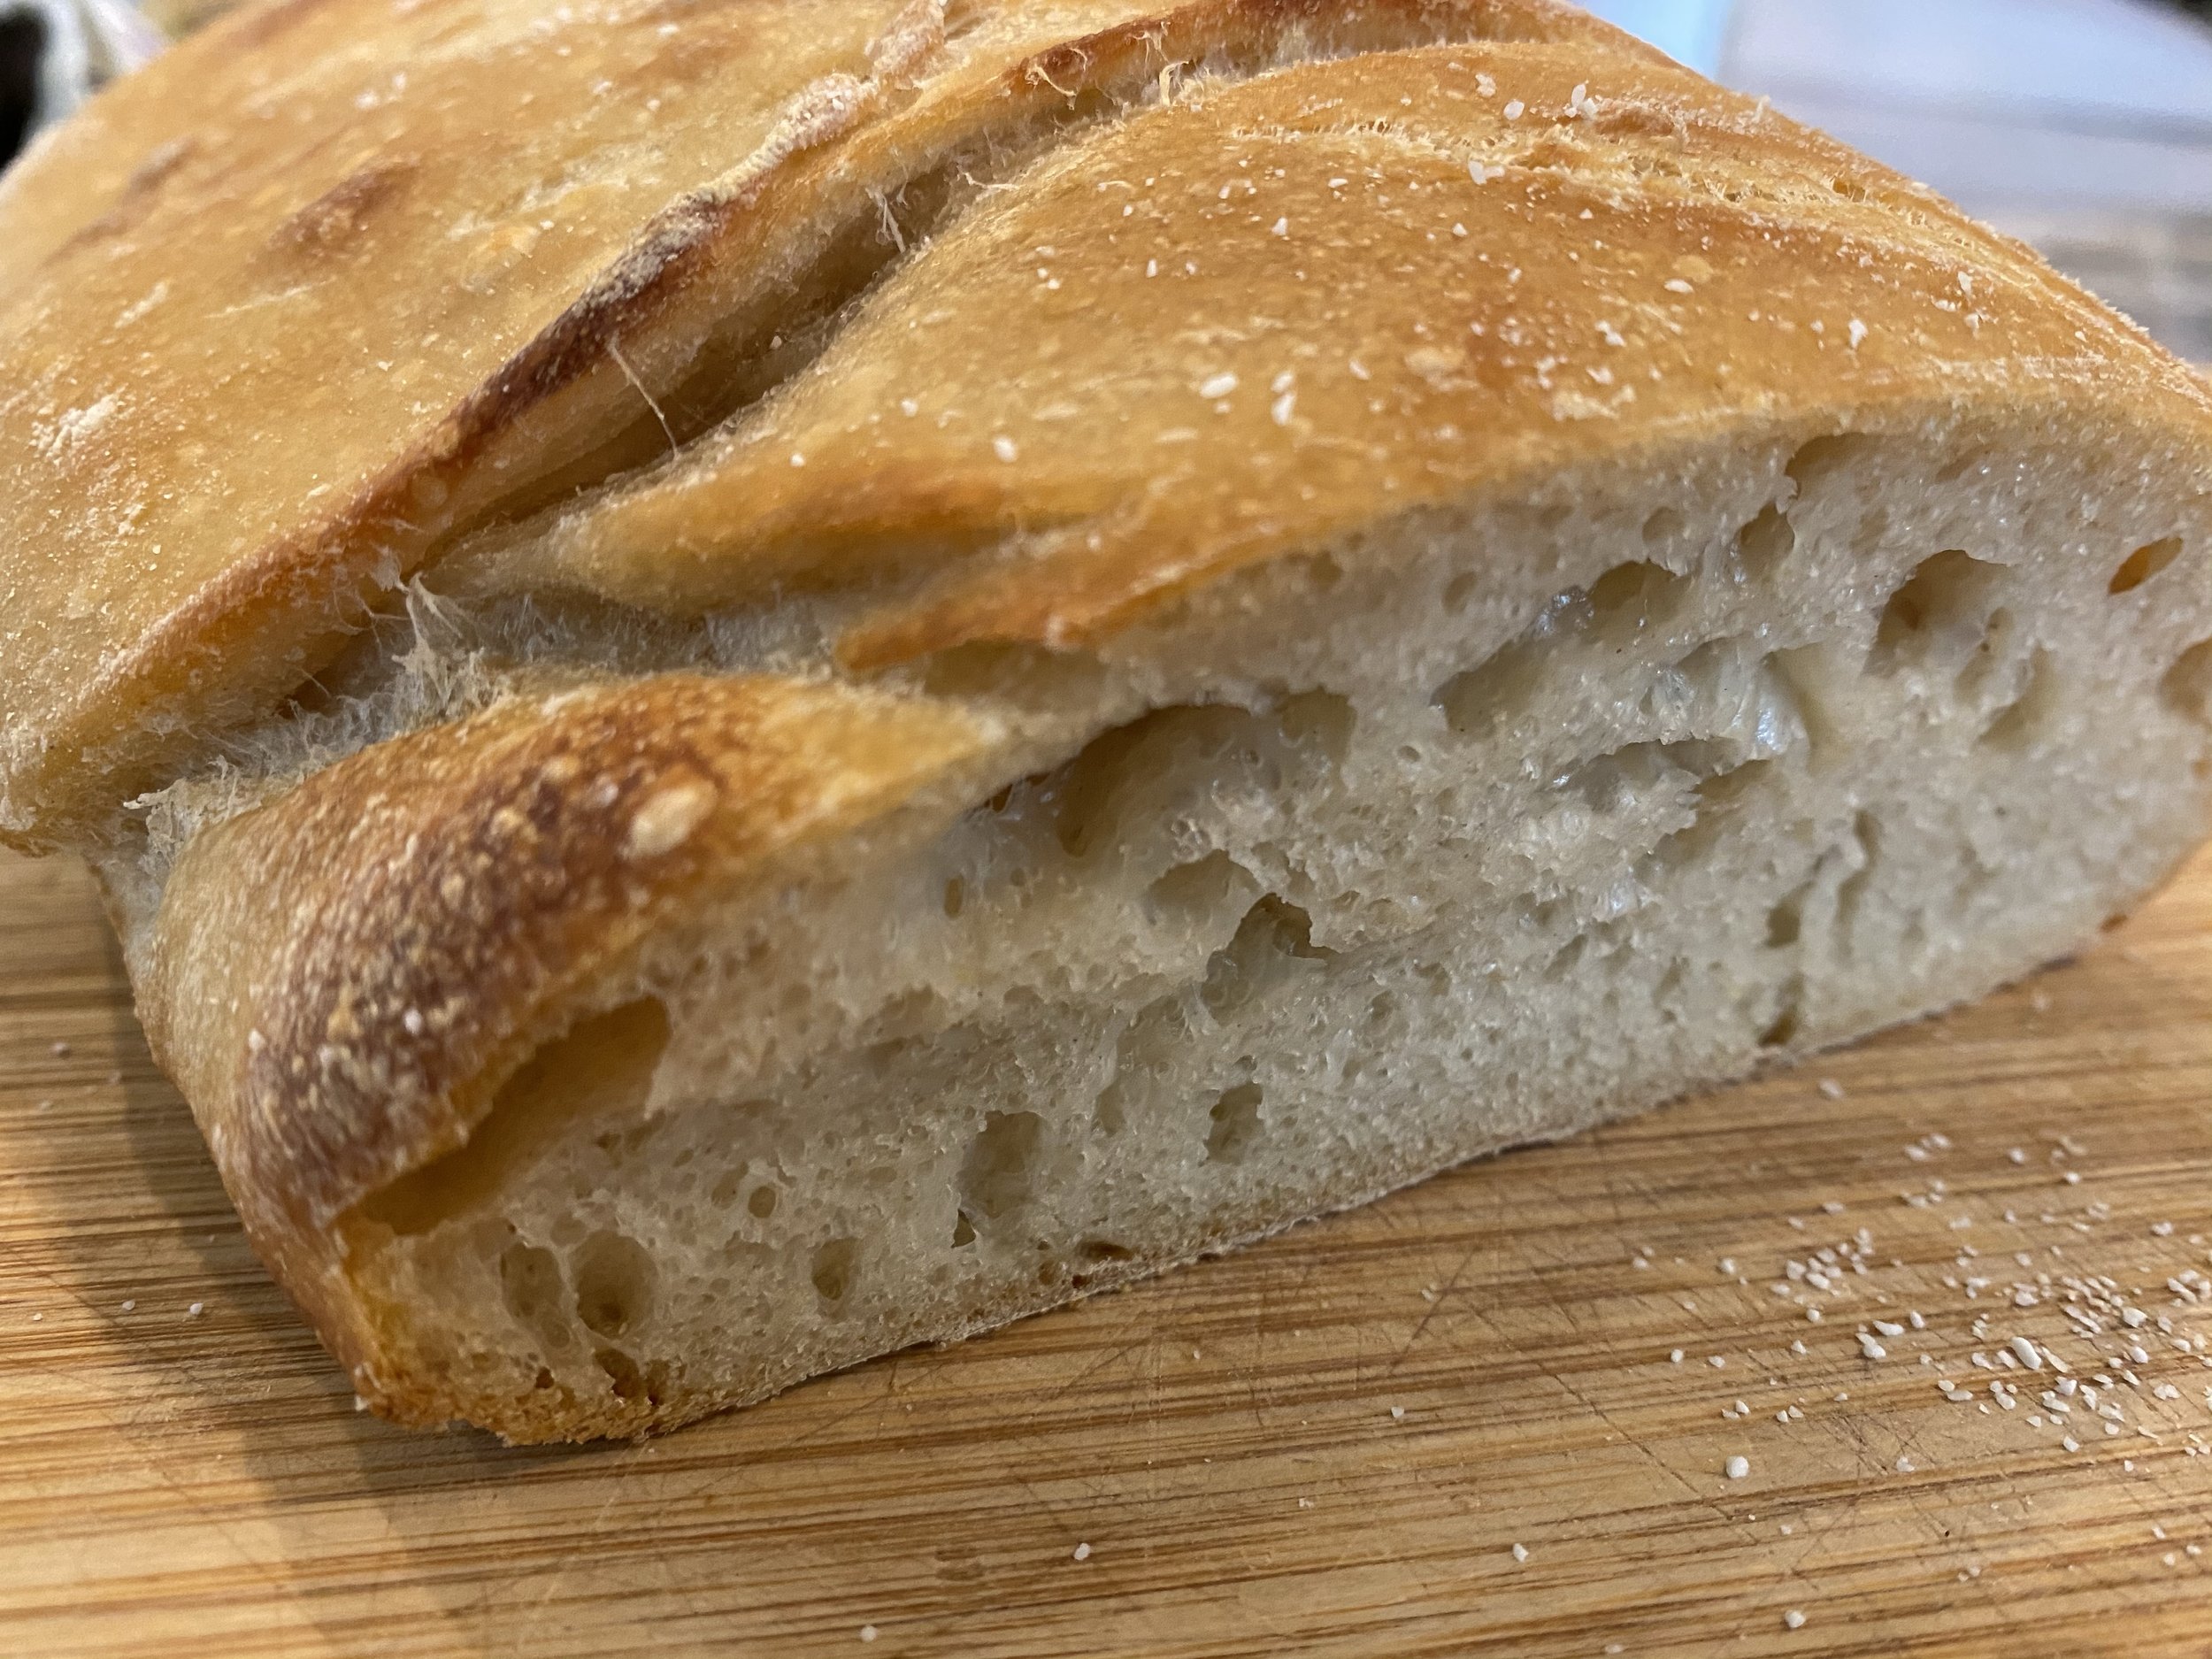
My next attempt was a bit higher-rising, but something was off. The base was dense and the crumb was a bit gummy. I had handled the dough somewhat roughly in the transfer from the banneton to the clay baker, and suspected this may have been part of the problem.
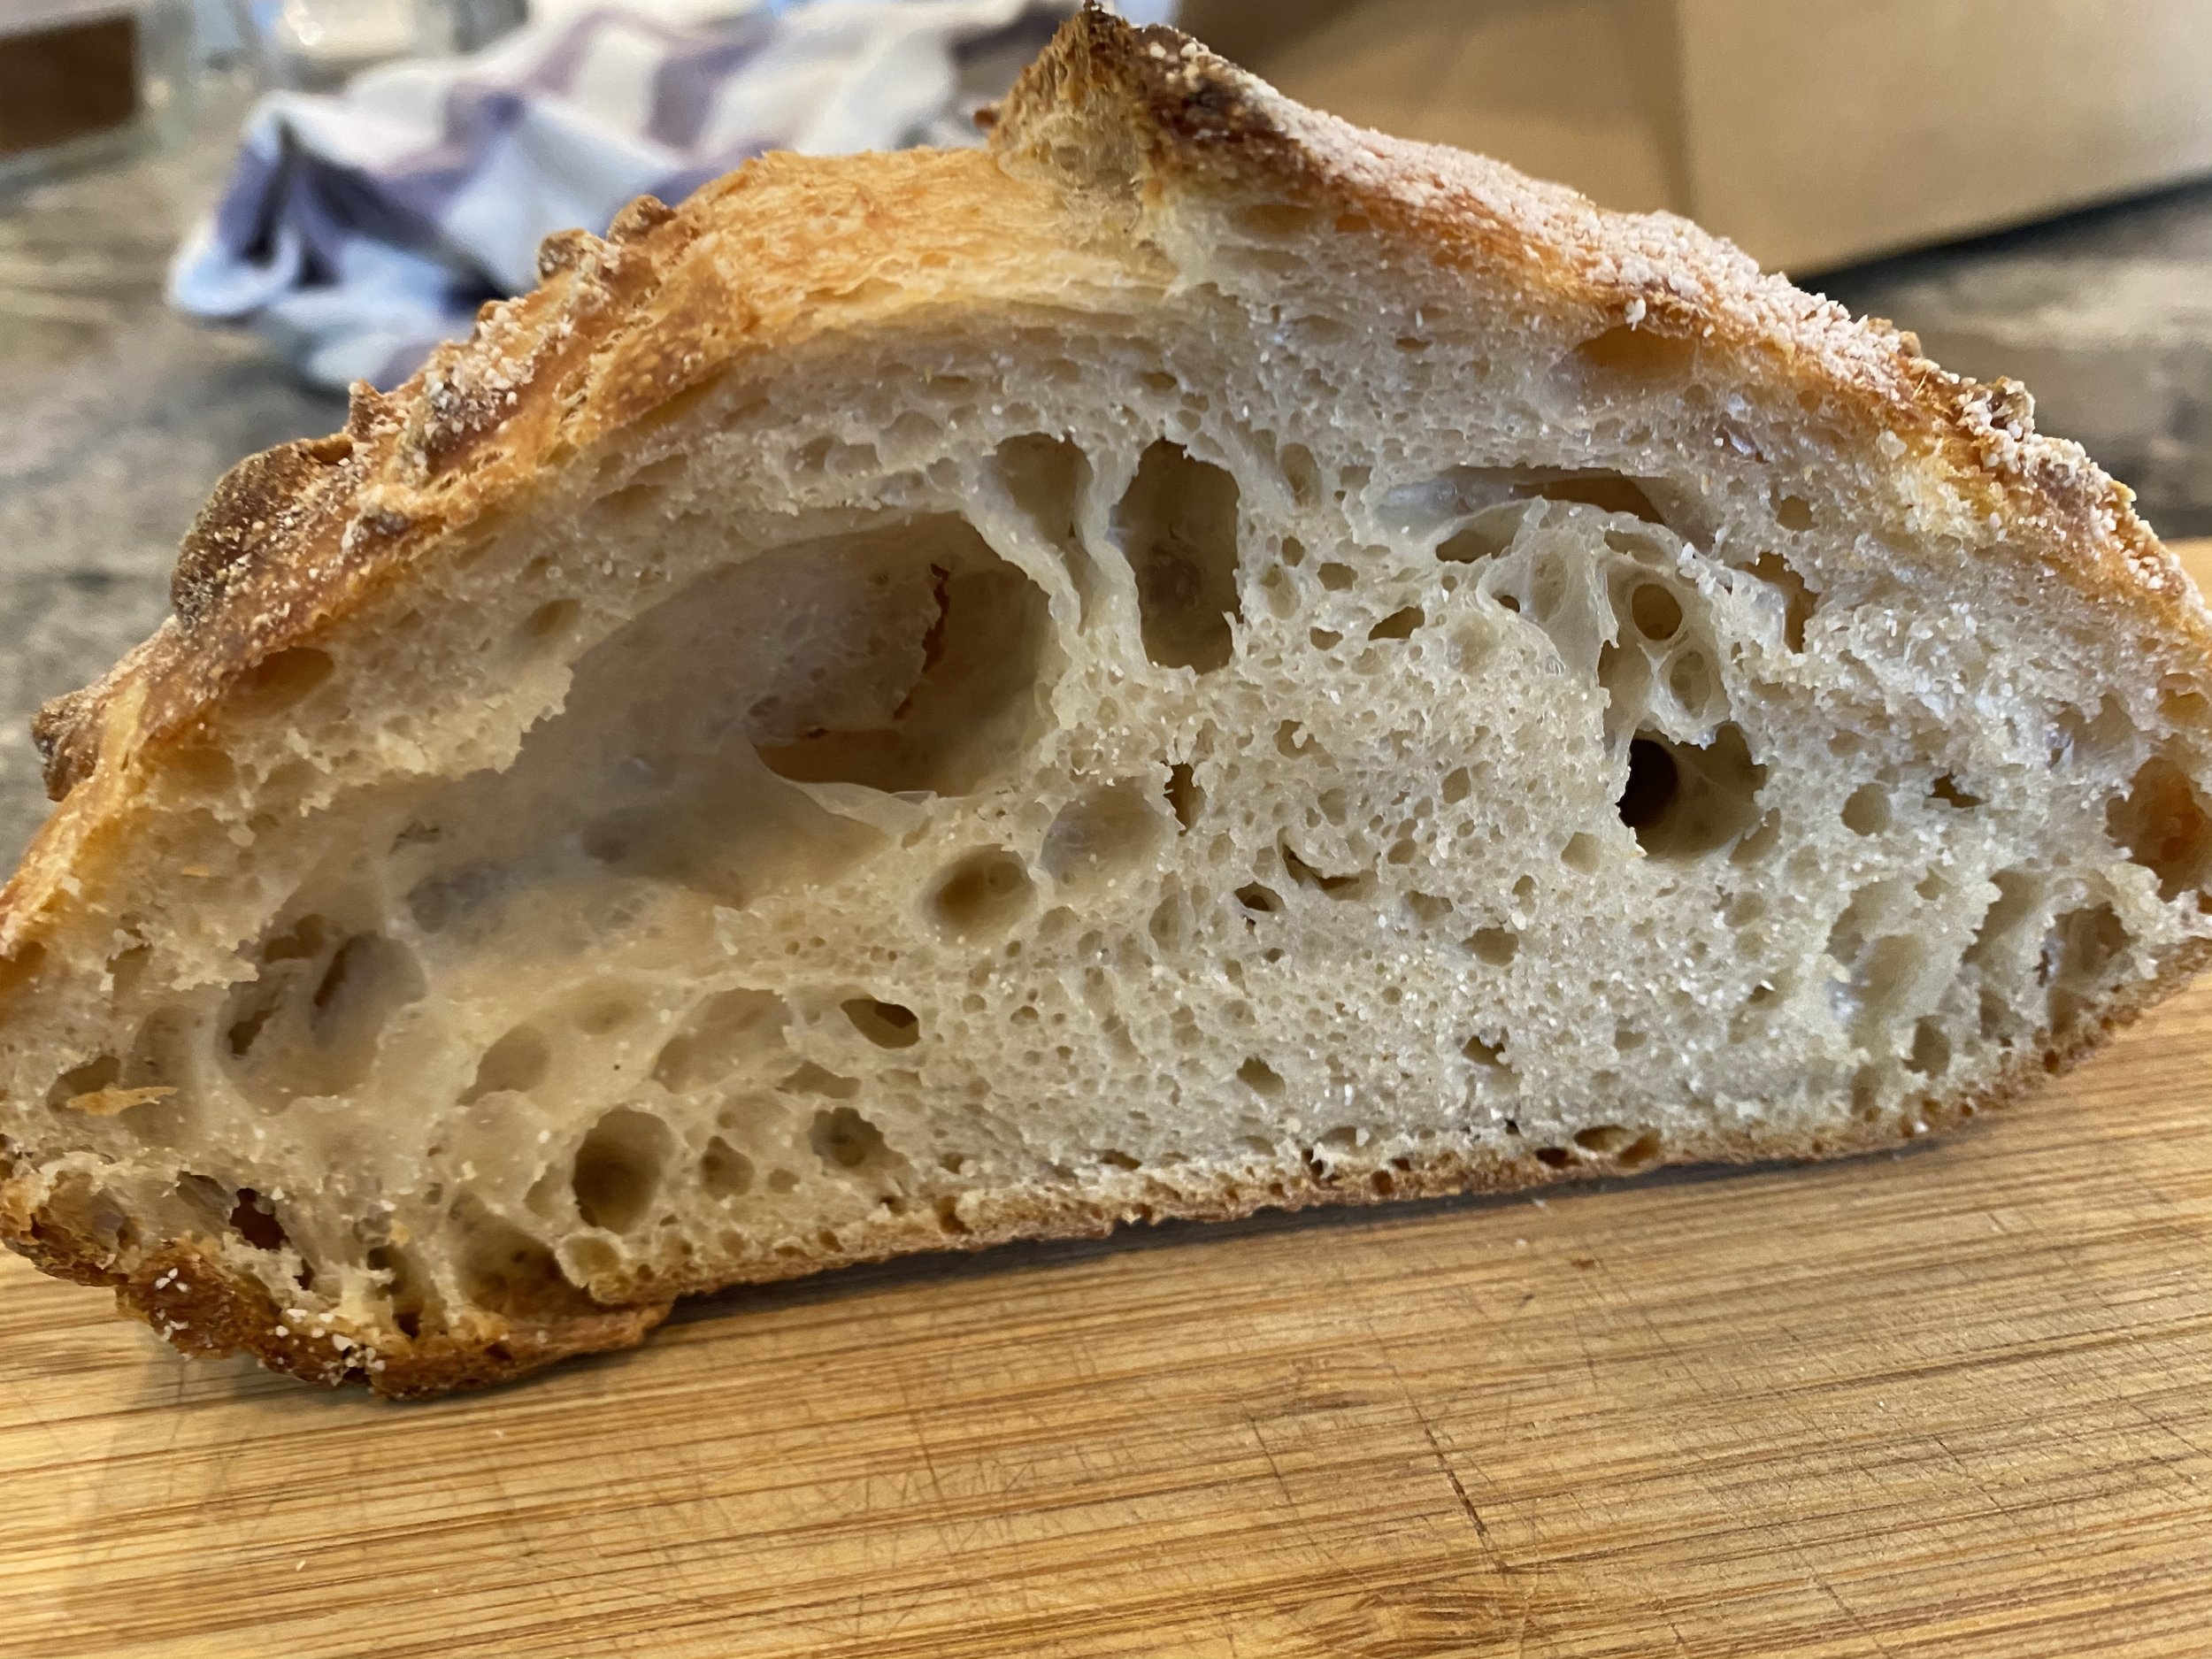
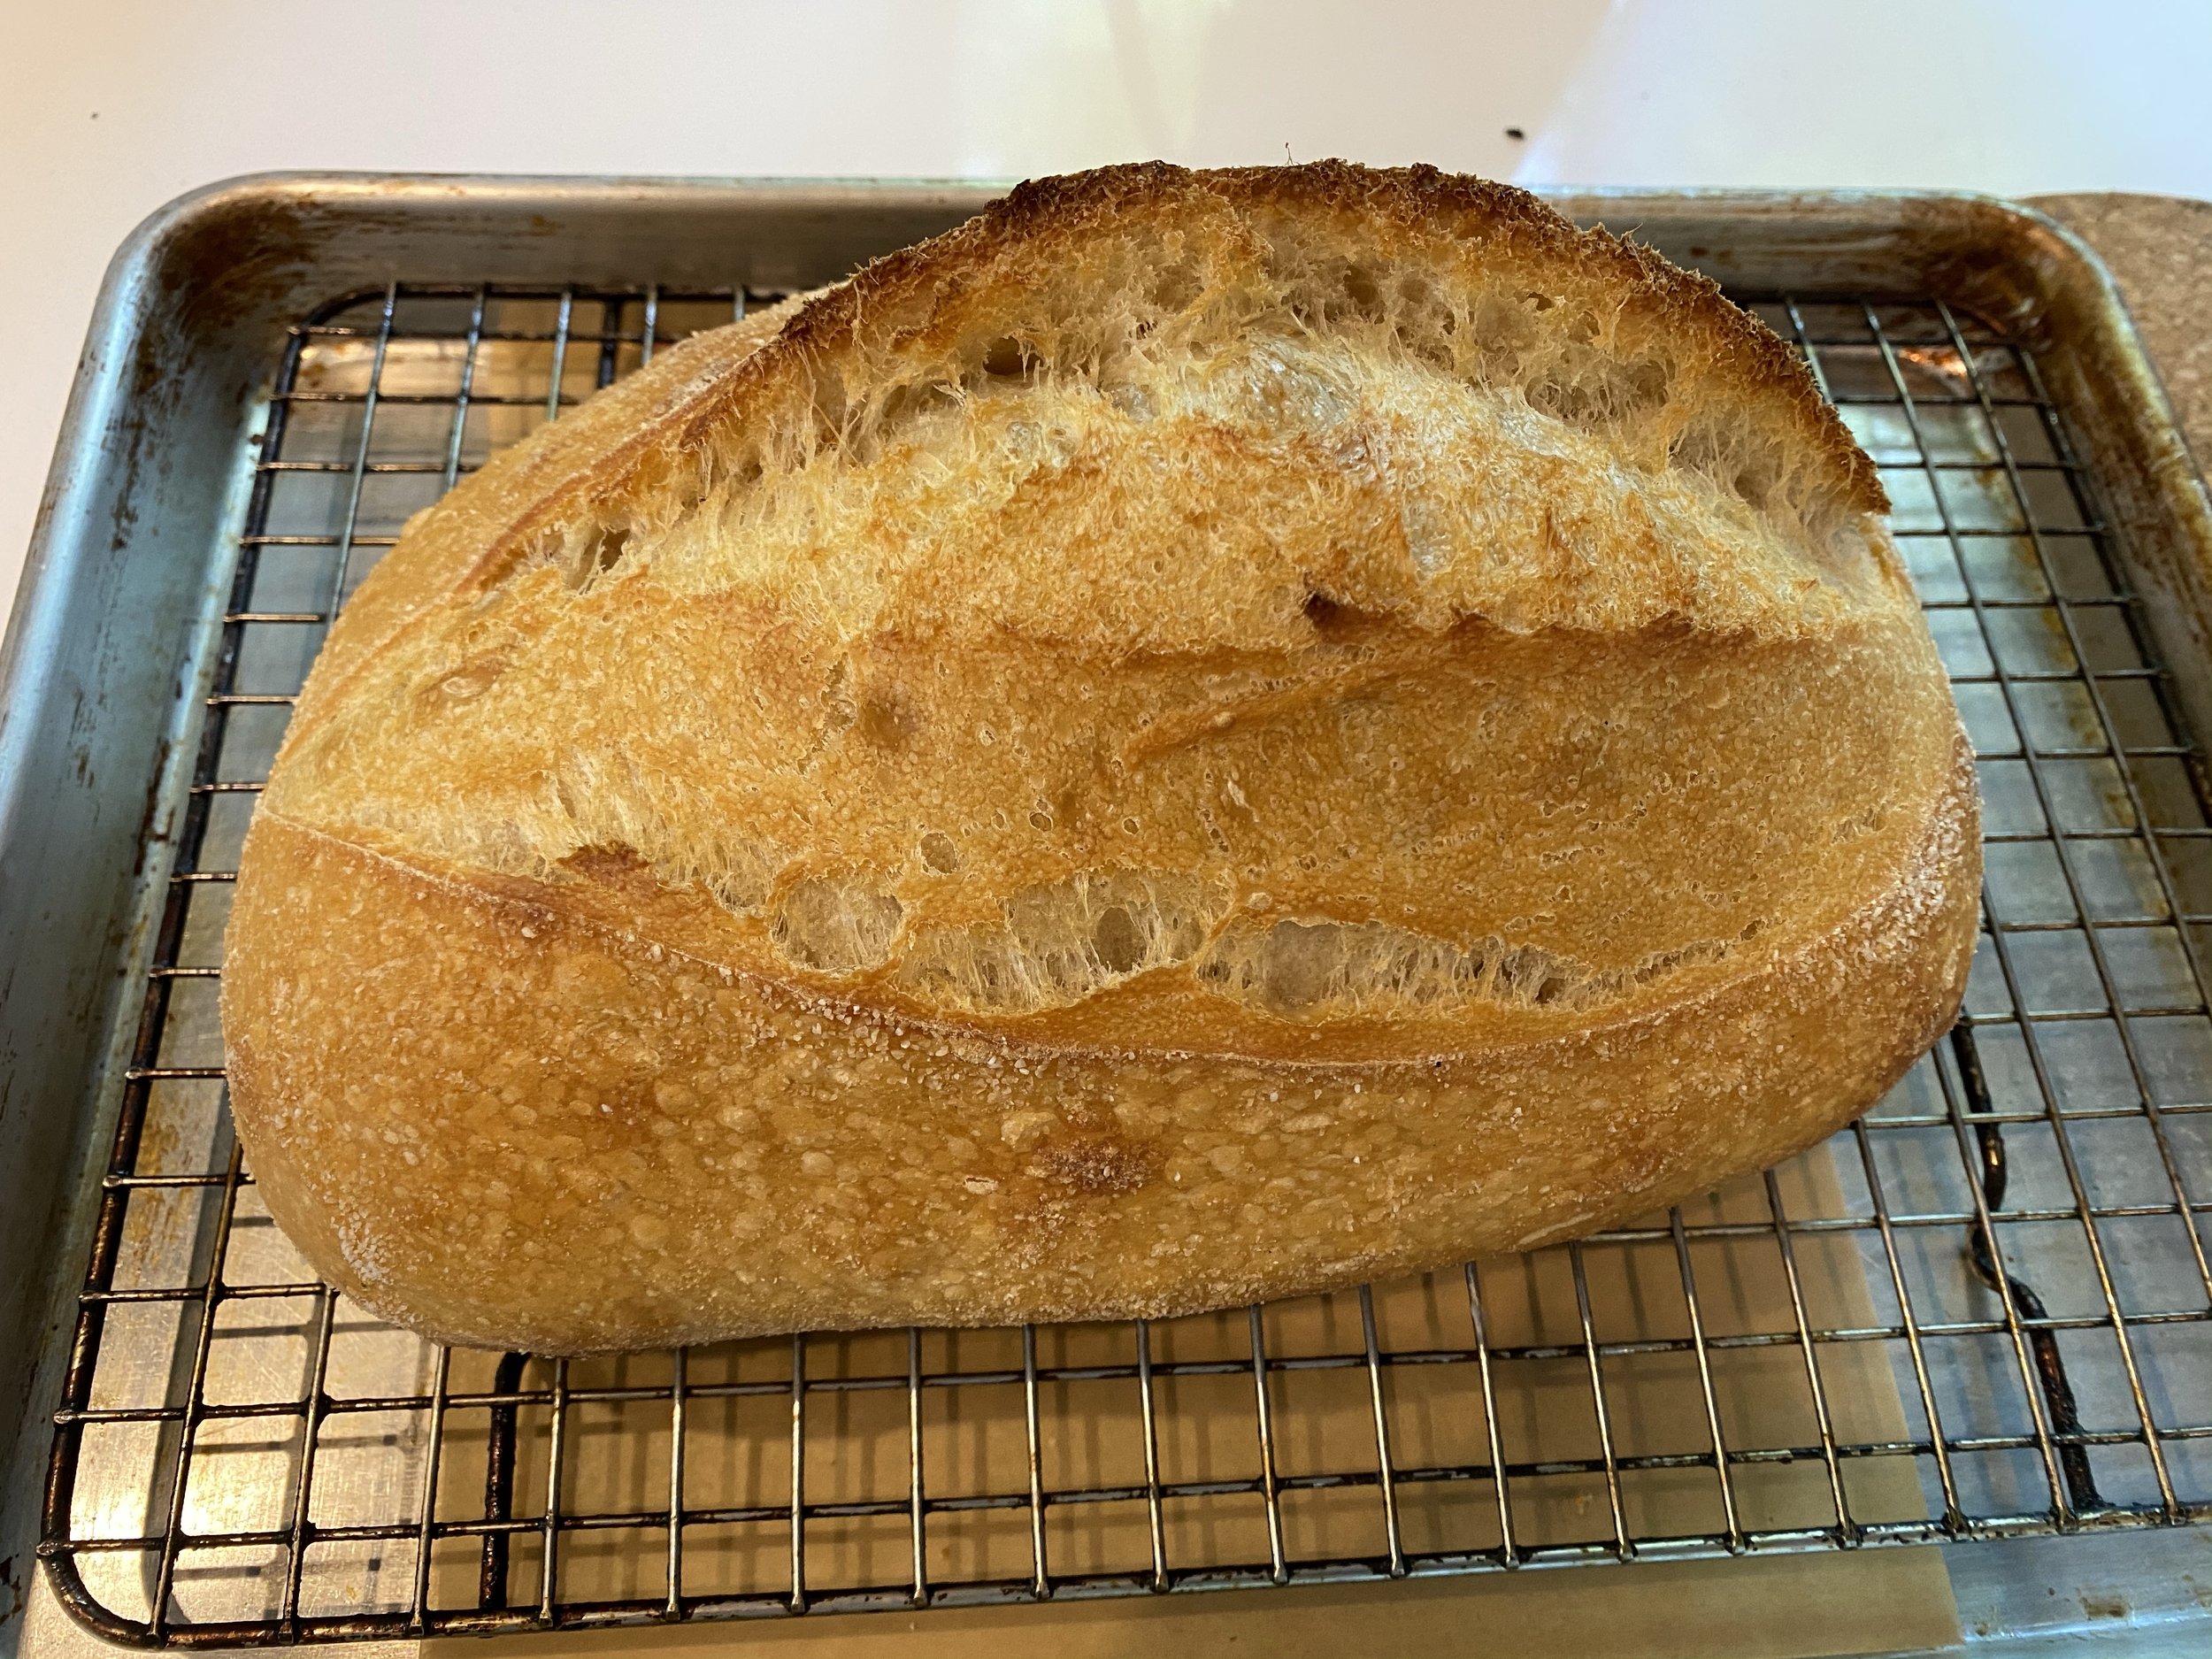
My next attempt proved more successful. I’m not sure what was due to better handling vs. a more mature and robust starter, but the differences were obvious.
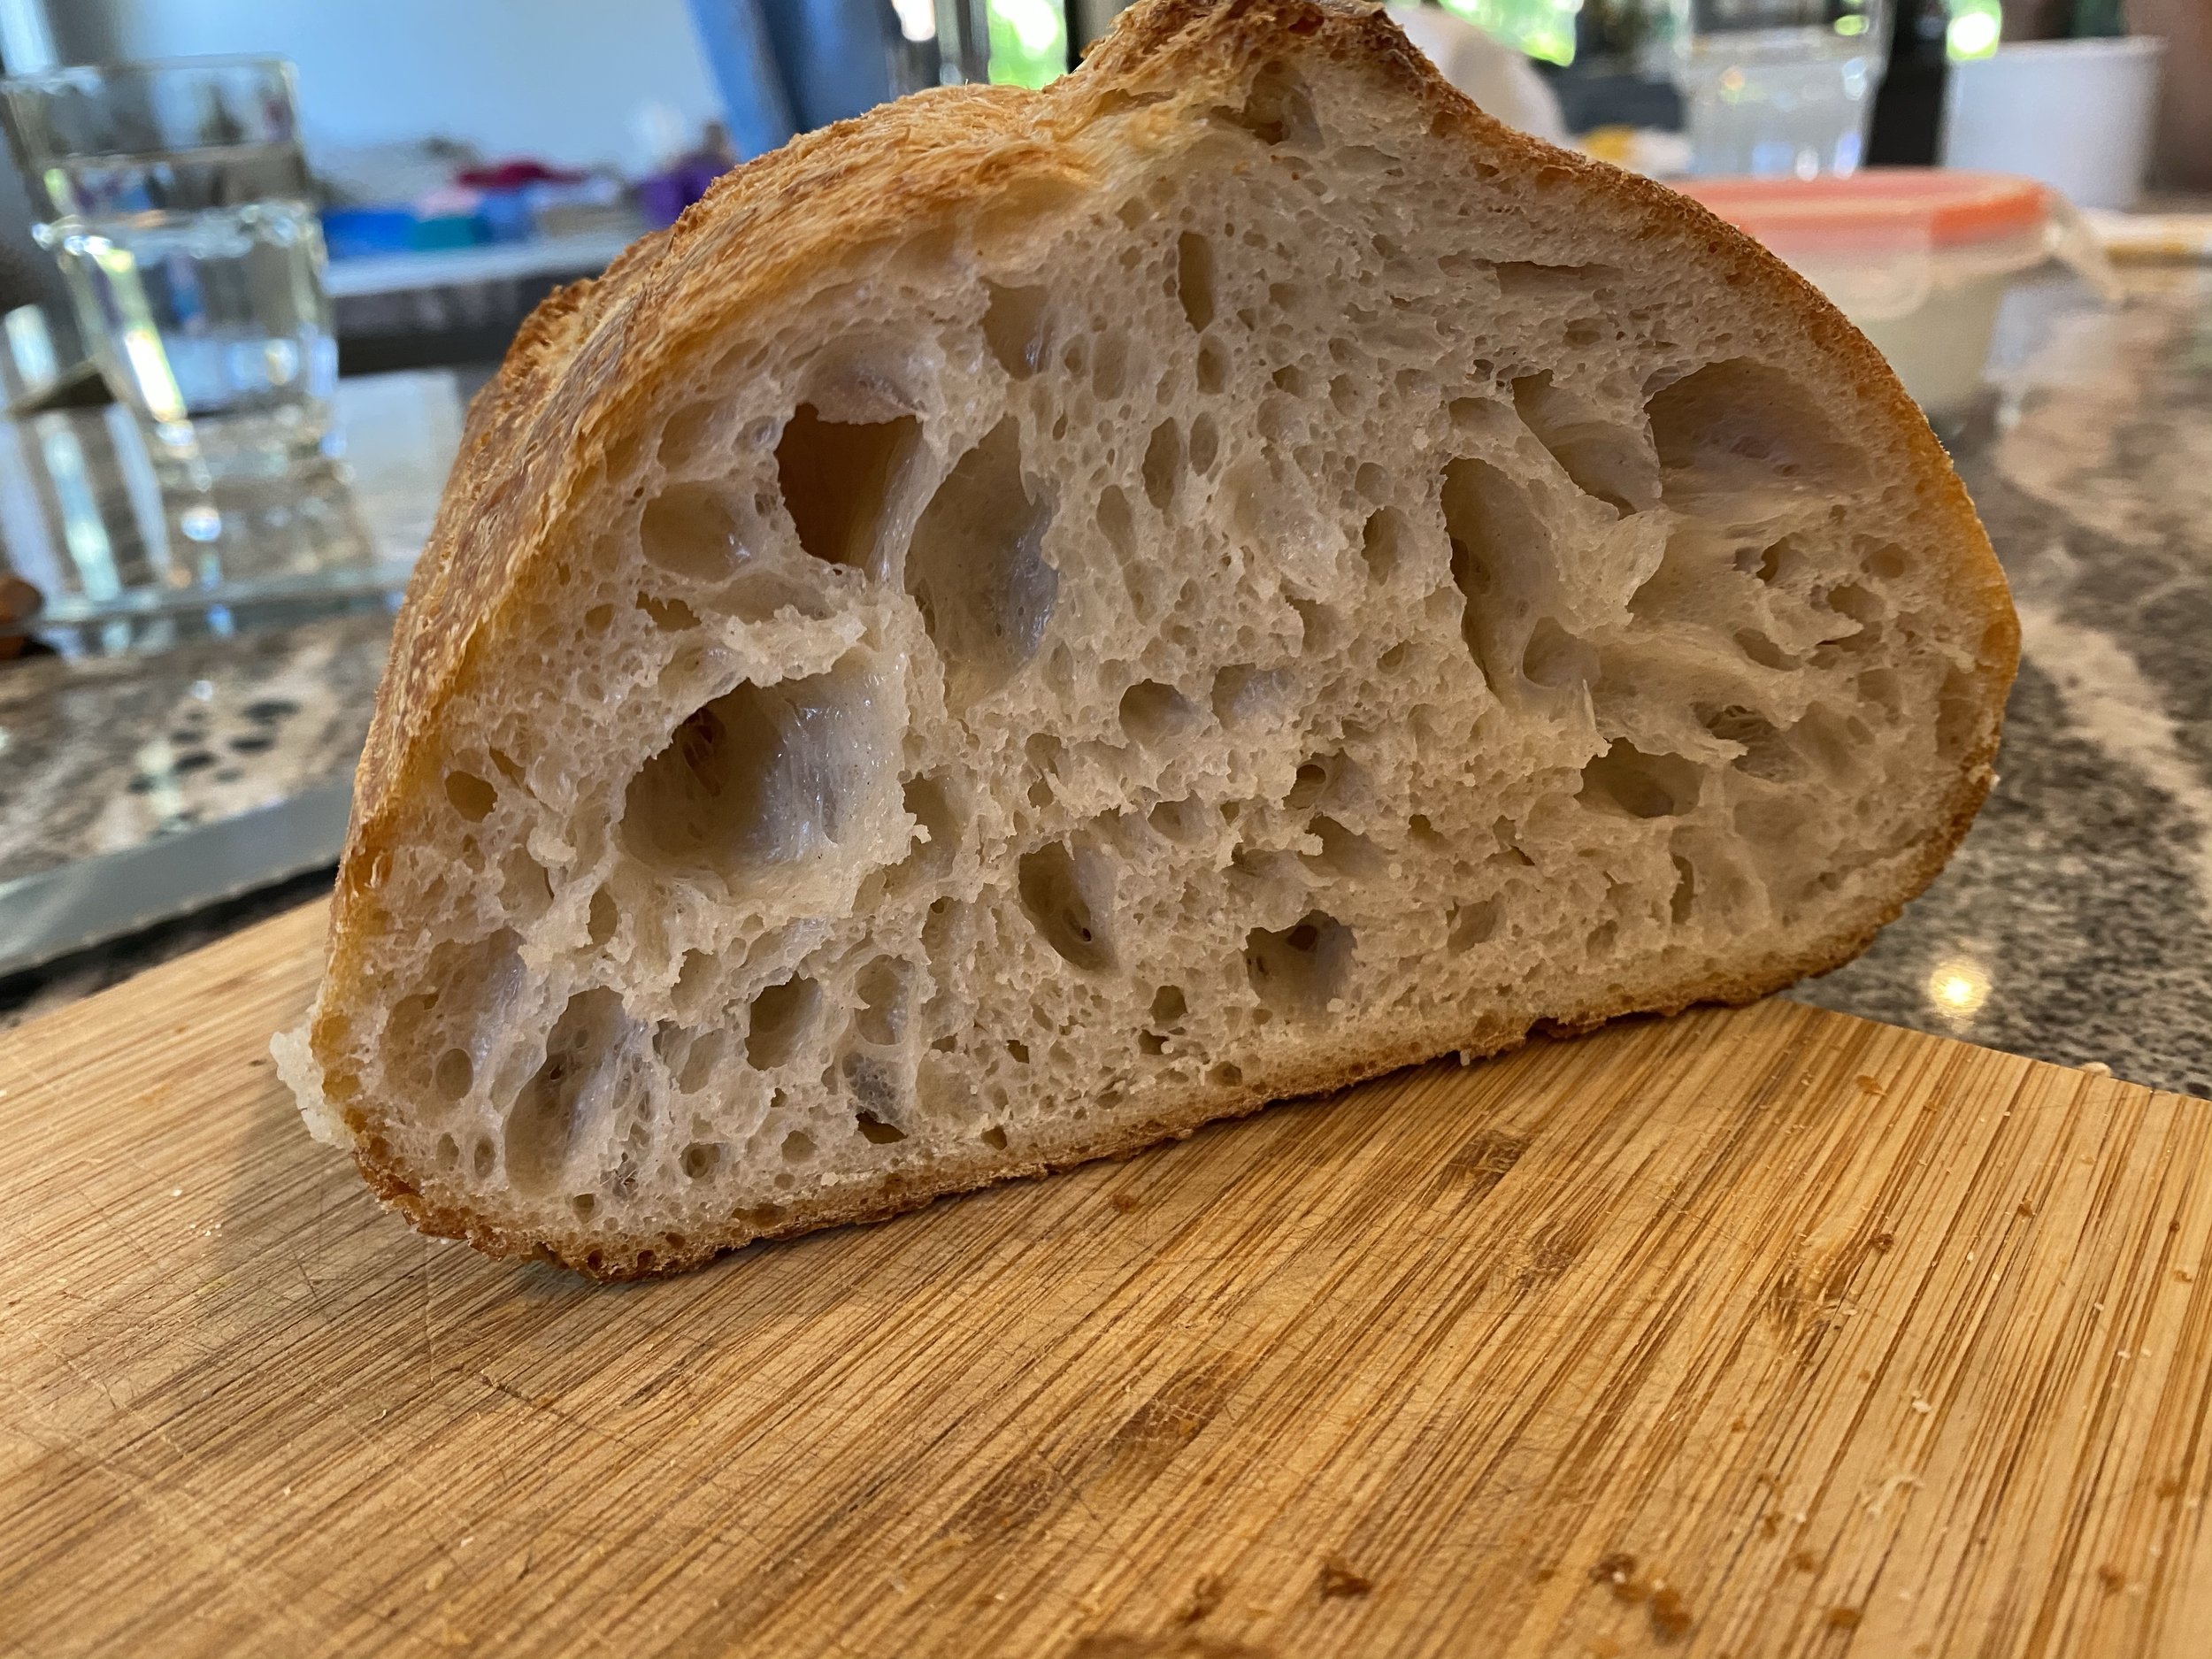
Look at the difference in rise and texture. The taste was noticeably better, with great flavor and a nice bite to the middle. Loaf after loaf has yielded similar results, using either 75% or 80% hydration.
My dough prep is simple: I mix 360 g flour with 280 g water and autolyse for 30-60 minutes. I then add in 10 g of salt and 80 g of stater and mix by hand for a few minutes until well combined. After 30-60 minutes, I’ll pick up one end of the dough in the bowl, stretch it up, and fold it over the middle. I rotate 90 degrees and do the same. I continue this until I’ve performed 8 folds, the flip the whole mound of dough over and let it rest (covered) for an hour. I do this a total of 5-6 times, resting 45-60 minutes between each set of 8 folds. By this time, the dough is noticeably fuller and puffier. I turn it onto a floured counter and use a bench scraper to sweep it into a roughly round shape. I fold the right side across the middle, then do the same with the left. Starting at the top, I roll it into a cylinder and pinch the seam shut. I transfer it to a banneton well dusted with rice flour (seam side up) and cover with plastic wrap or a shower cap-like bowl cover. It goes into the fridge at least overnight or as much as two nights. I transfer it into a preheated covered baker and into the oven it goes.
Snce my family prefers a crispy, but not particularly thick crust, I bake covered at 500 ºF for 5 minutes, 450º F for 30 minutes, then 450 ºF for 5 more minutes uncovered.