Chocolate Chocolate Chip Bagels

After giving up on pure sourdough-leavened bagels, I resumed my making usual bagels using a hybrid of commercial yeast and sourdough starter. Driven to expand my bagel repertoire, I recalled my son’s fondness for chocolate chip bagels, but thought I could take it to the next level. After my chocolate chocolate chip sourdough bread had been well received, it seemed natural to give my bagels the same treatment.
My standard bagel recipe already included some sourdough starter, so I started by replacing 20 g of the flour with cocoa powder, and bumping up the sugar from 15 to 90 g. I also thought regular bread flour, instead of high-gluten flour, would be fine for this recipe. I made the yukone, combined the dry ingredients, then processed everything together in the food processor. Once the dough was formed, I worked in the chocolate chips with a brief kneed, then shaped the bagels into balls.
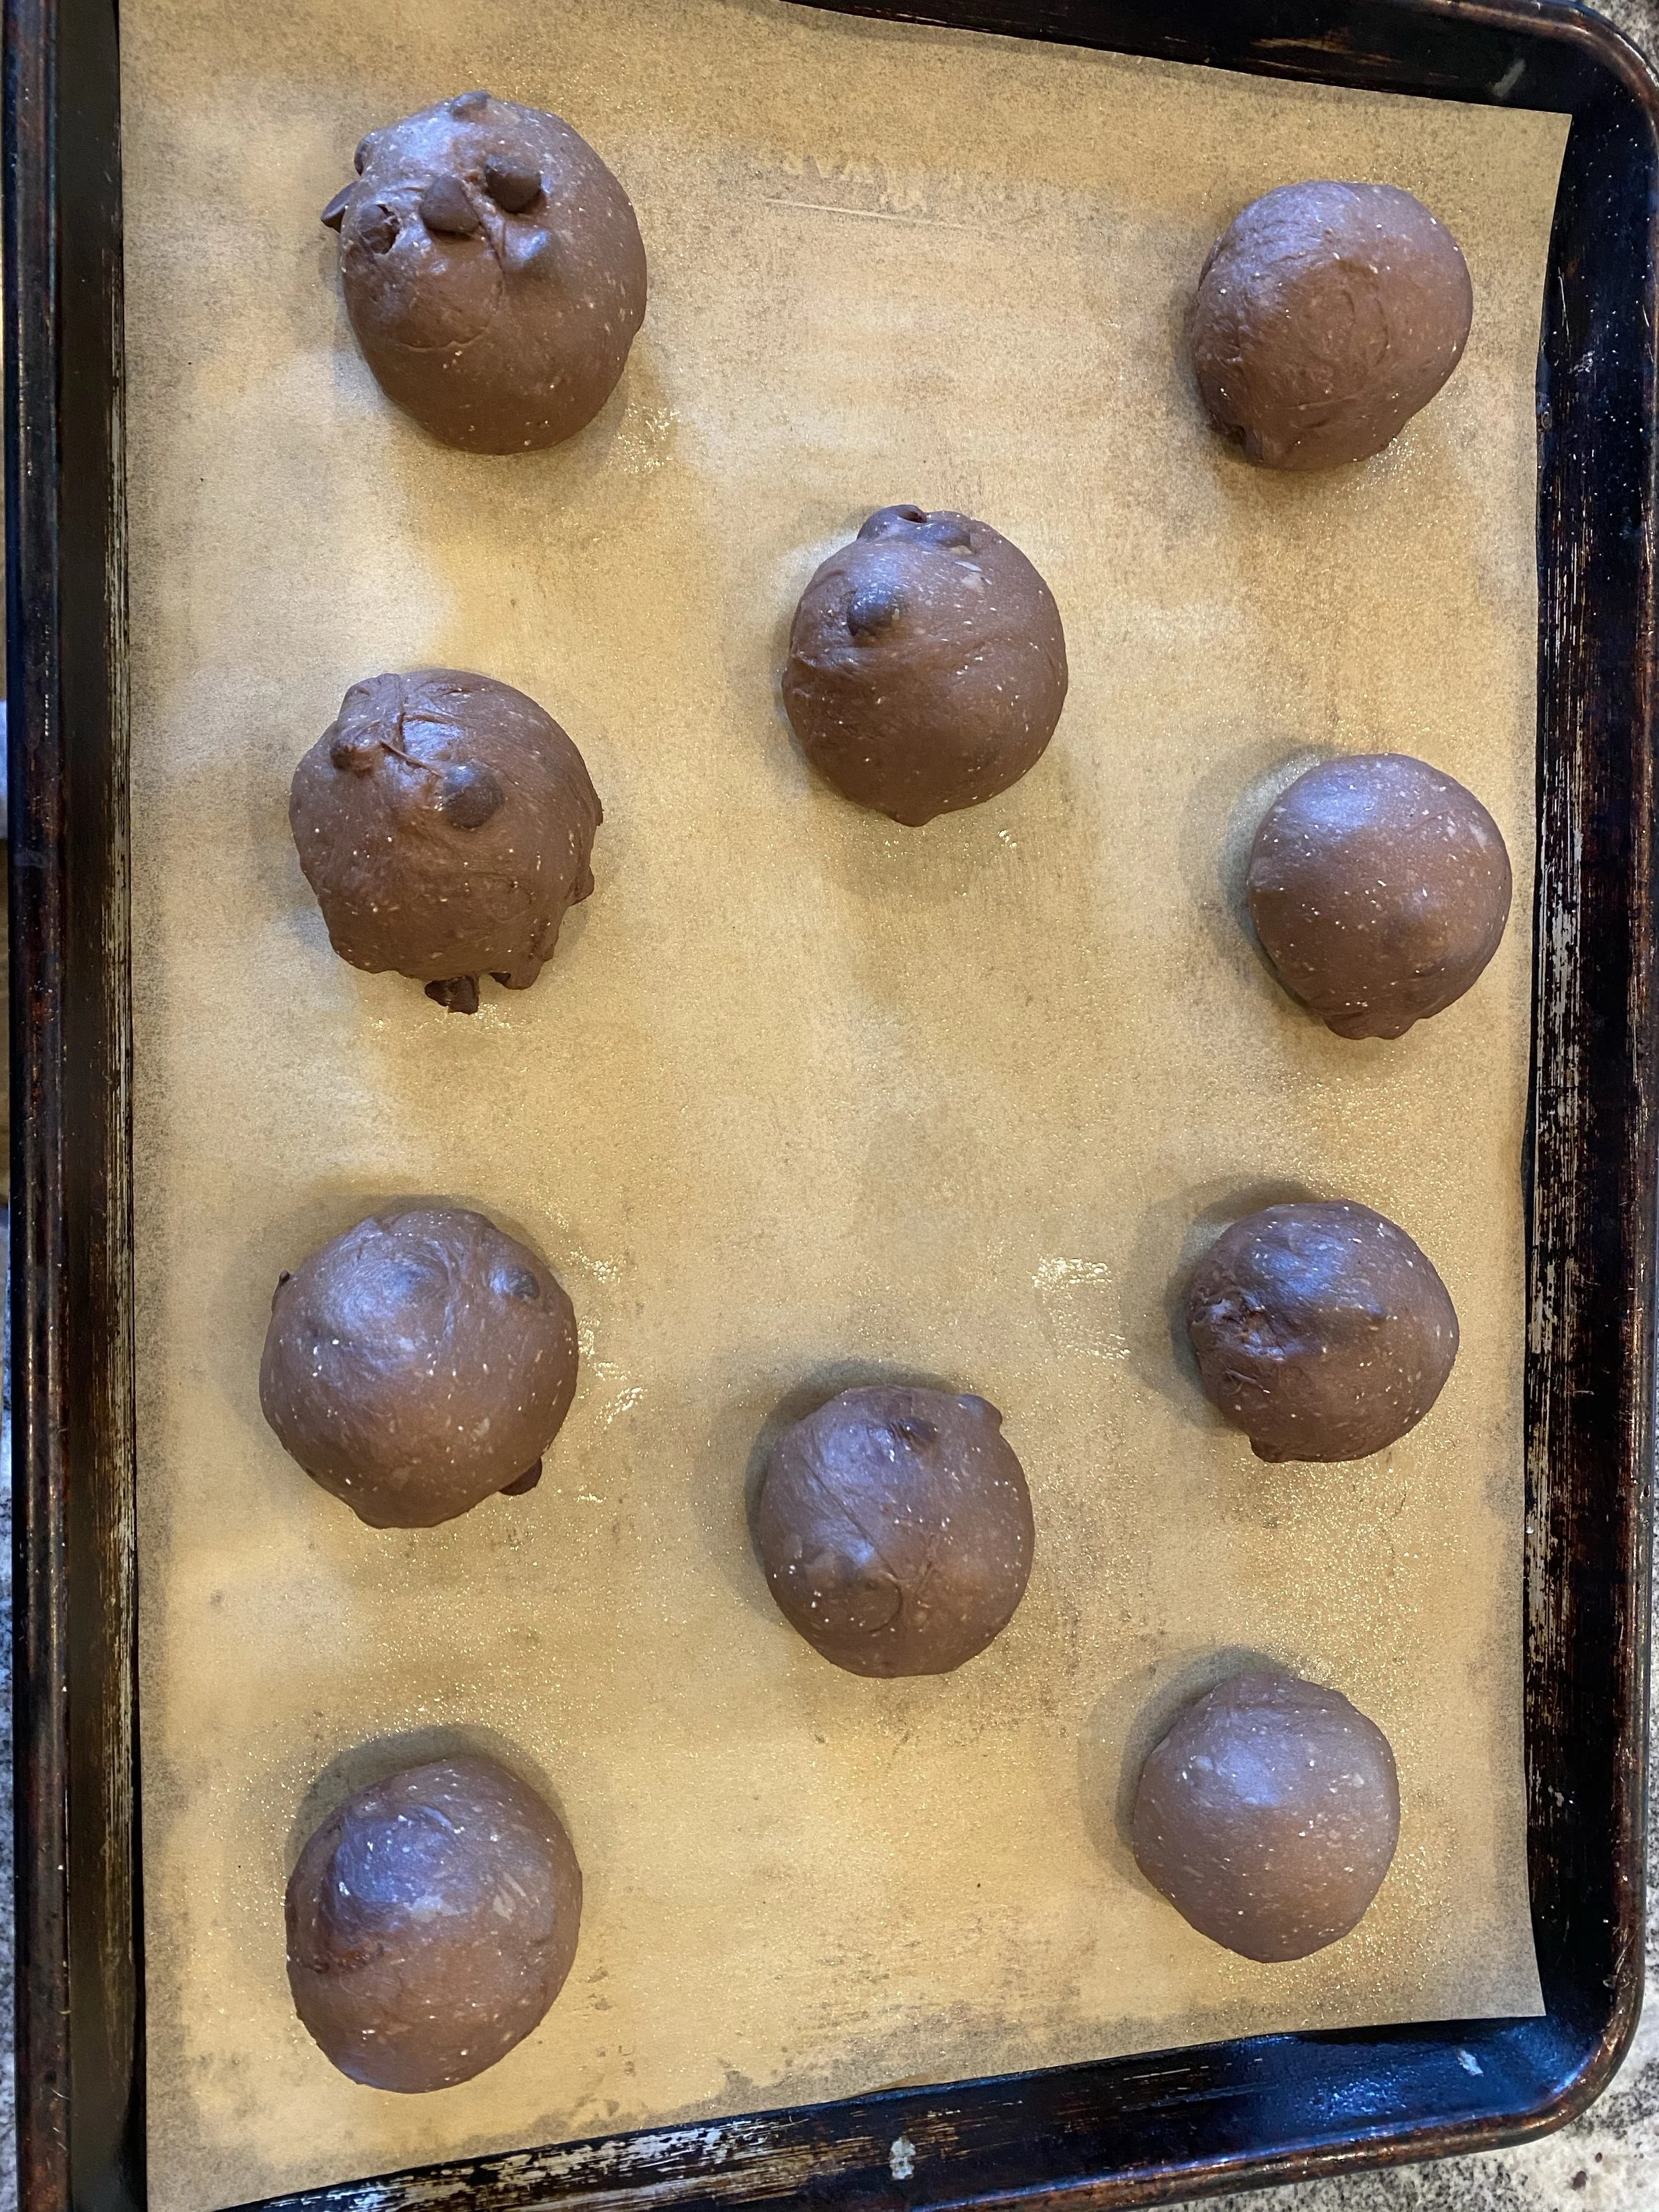
I let the dough balls rest for 15 minutes, then shaped into bagels, and refrigerated for 36 hours.

Despite the prolonged rest time, when I went to boil the bagels I found that they didn’t float. I decided to do an experiment - I boiled half the bagels and left half unboiled. The boiled bagels were obviously darker than the unboiled, but otherwise didn’t look all that different.

Just-boiled bagels on the left, unboiled on the right. The boiled bagels were slightly darker and shinier, but otherwise similar.
I baked the bagels, sure that the boiling would have some lasting effect. To my surprise, the baked bagels looked almost identical regardless of whether they had been boiled first or not. If I looked closely, the unboiled bagels had a slightly more matte finish, but otherwise there was not much difference. The crust felt pretty similar as well. There was a slight difference in the shape however - the boiled bagels rose a little more vertically, while the unboiled were slightly wider.

The bagels on the left were boiled, then baked. The bagels on the right were only baked. The differences were minor aside from slight differences in shape and a slightly more matte finish on the only baked bagels.
I wondered if my bagels were underproofed because I had use less than my customary amount of yeast, so I repeated the experiment with a full 4 g of yeast and this time the bagels had no problem floating. However, the poaching water darkened from chocolate chips melting on the surface and I realized that, given the lack of difference I had noticed earlier, it may not be worth boiling these bagels. Unlike regular bagels where the classic chew and crust are key components, this is a totally different beast (and certainly not adherent to any sort of historical precedent.
Yukone:
170 g cold water
100 g bread flour
Dough:
280 g bread flour
20 g cocoa powder
90 g sugar
9 g salt
4 g instant yeast
60 g water
100 g 100% hydration sourdough starter
90 g chocolate chips
Directions:
In a skillet or saucepan, mix the ingredients for the yukone until no dry flour remains and stir with a rubber spatula over medium heat until the mixture takes on a mashed-potato like appearance. Transfer to a bowl, cover with plastic wrap, and allow to cool.
Add the water and starter to the yukone. If you're not using a starter, increase the water and flour in the main recipe by 50 g each.
Combine the dry ingredients in the bowl of a food processor and pulse several times to combine.
Add the contents of the yukone bowl into the food processor.
Process for 90 seconds.6. Turn the dough onto the counter (it will be slightly sticky), and kneed in the chocolate chips. It may take a little work to get them evenly distributed. If the dough is warm, allow it to cool slightly in a covered bowl before adding the chocolate chips, or they may melt.
Divide the dough into 8-10 equally sized dough balls and roll them in circles on the counter using an inverted, cupped hand until they are smooth and have no creases.
Transfer the balls to a baking sheet lined with parchment coated lightly with spray oil and cover with plastic wrap for 15 minutes.
Poke a hole in the middle of each ball with your thumb and gently stretch each ball into a bagel-like shake.10. Cover the bagels with plastic wrap and refrigerate for 24-36 hours.
After the bagels have rested in the fridge, preheat the oven to 425 degrees and bake the bagels for 15-20 minutes, depending on desired crustiness. Depending on your oven, you may need to bake longer if you like a really crusty bagel.
Allow the bagels to cool completely before slicing (particularly important given the chocolate chips.